The perfect Father’s Day gift for this stay-at-home year has been an Ooni pizza oven.
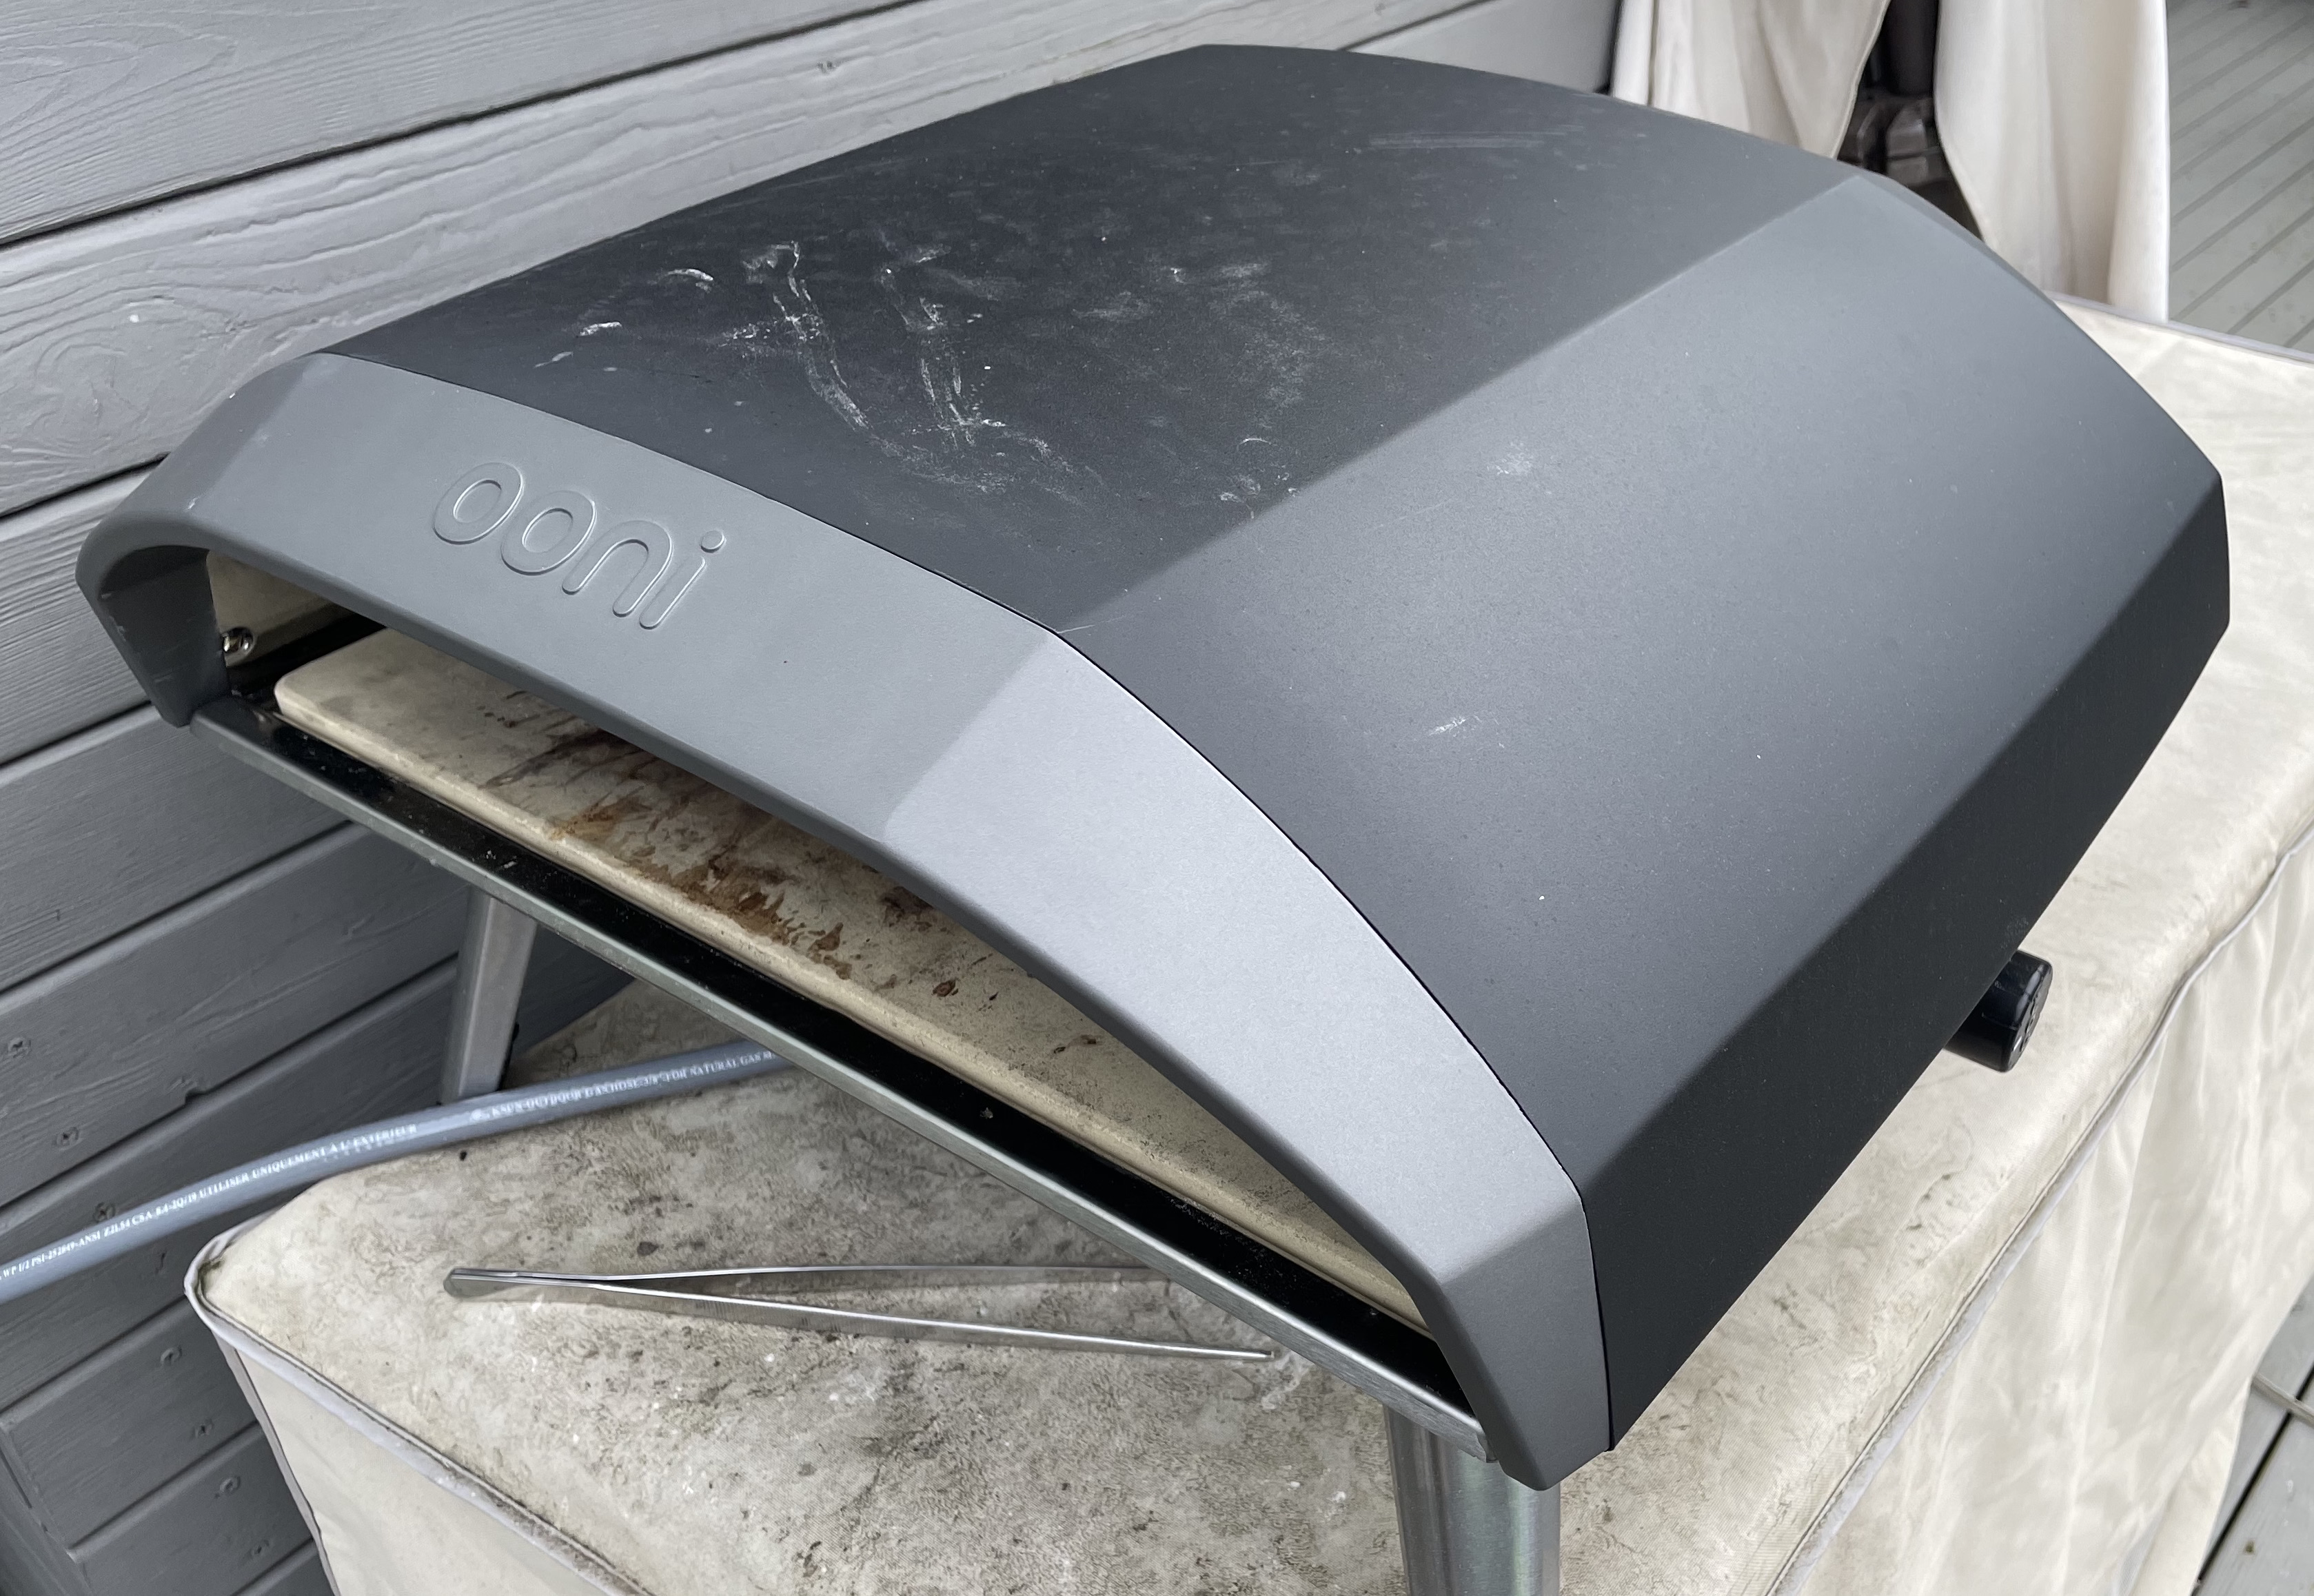
It conveniently hooks up to the natural gas line for the grill, so I never have to worry about exchanging propane tanks, and it gets blazing hot.
I use the classic pizza dough recipe from the Ooni app, scaled here for a 200 g dough ball, which is perfect for a single pizza. (I typically make dough for 4–5 pizzas.)
Pizza Dough (200 g dough ball)
- 123 g “00” flour1
- 74 g water
- 4 g salt
- 0.4 g yeast*
* This assumes instant dry yeast and a 4-hour proof at room temperature (70°F, 21°C). The aforementioned app adjusts for different yeasts, proof temps, and times.
I use weights not measures for multiple reasons: it’s more accurate, it’s easier to weigh ingredients than to properly measure, and it’s easier to scale whole numbers than fractions (English-units, amirite?).
Directions
-
Measure 2/3 of the water into bowl and get the other 1/3 boiling on the stove (with some margin for boil-off). Mixing boiling water with cold tap water in a 1:2 ratio generates the correct temperature for the yeast and avoids having to mesure and adjust the water temp.
-
Weigh the flour directly into the stand mixer’s bowl.
-
Whisk the salt and yeast into the lukewarm water.
-
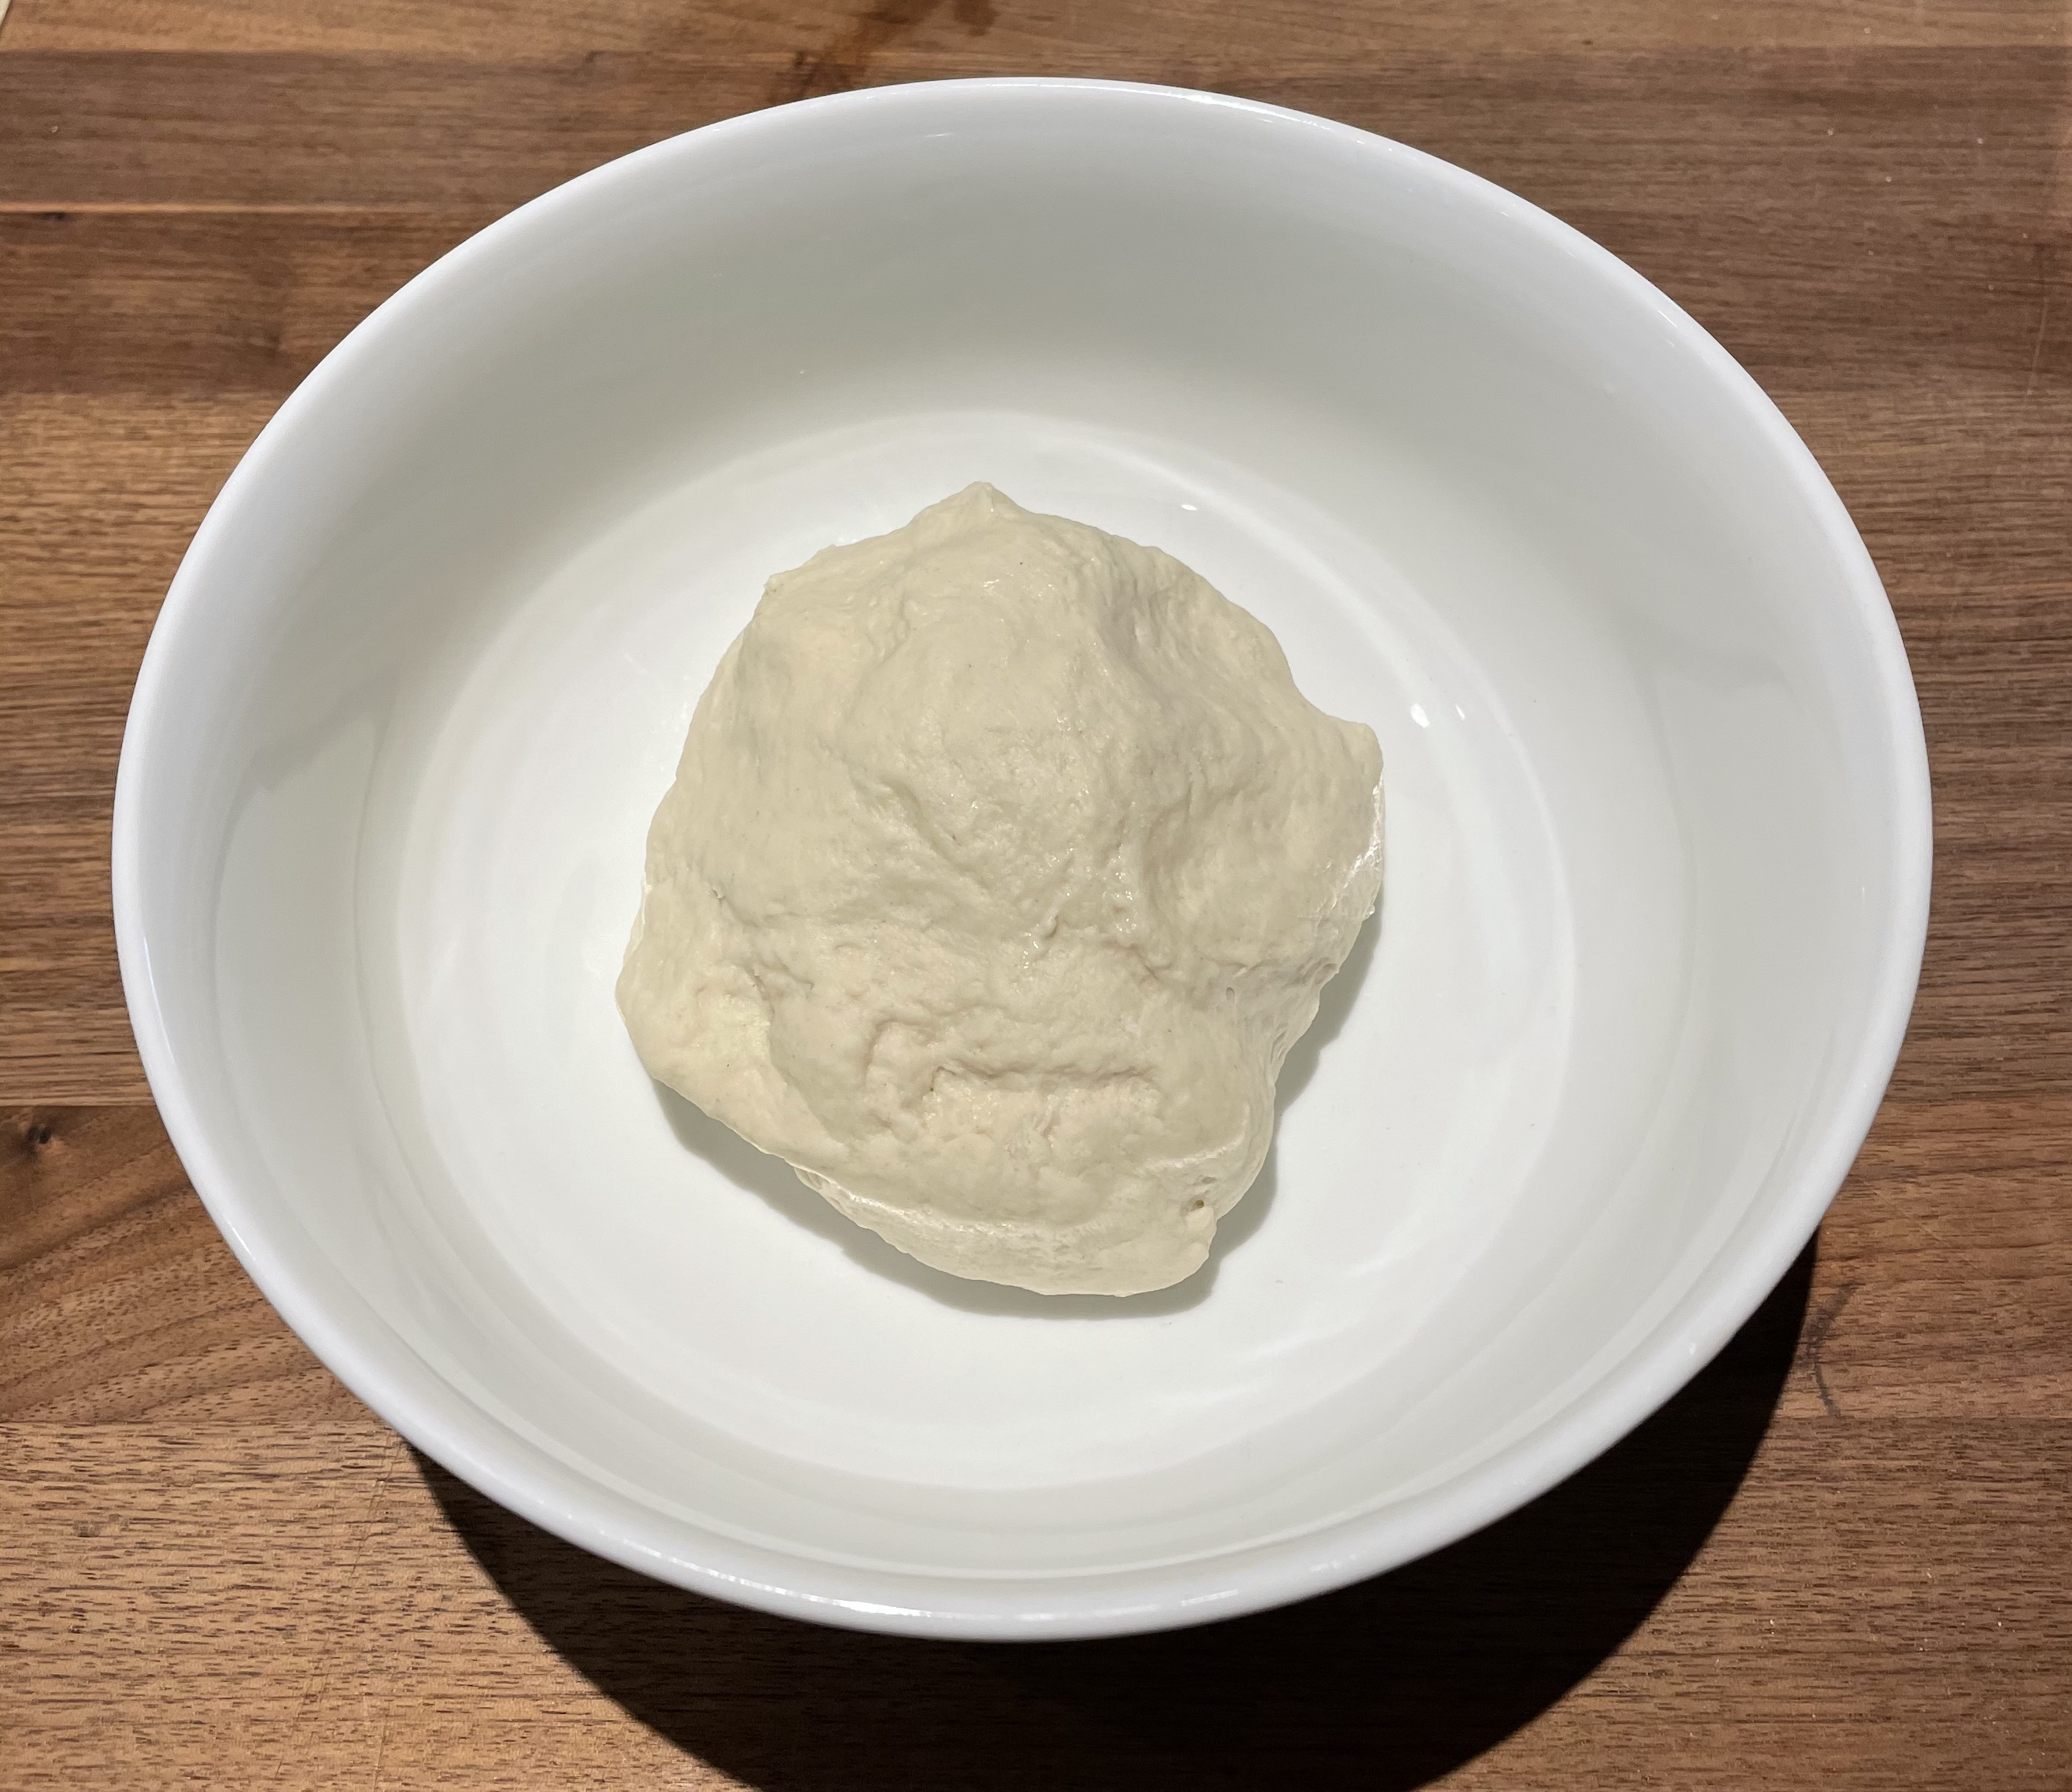
Affix the dough hook attachment, get the mixer going on the lowest setting, slowly pour in the water mixture, and then let it knead on low speed for roughly 7 minutes. It should have a nice smooth ball shape, be not too sticky, and seem plenty stretchy.

-
Cover the dough in plastic wrap so it doesn’t dry out and set it somewhere to proof. (A light dusting of flour will keep the wrap from sticking.) A 4-hour proof is perfect for making dough at lunch to have for dinner.
-
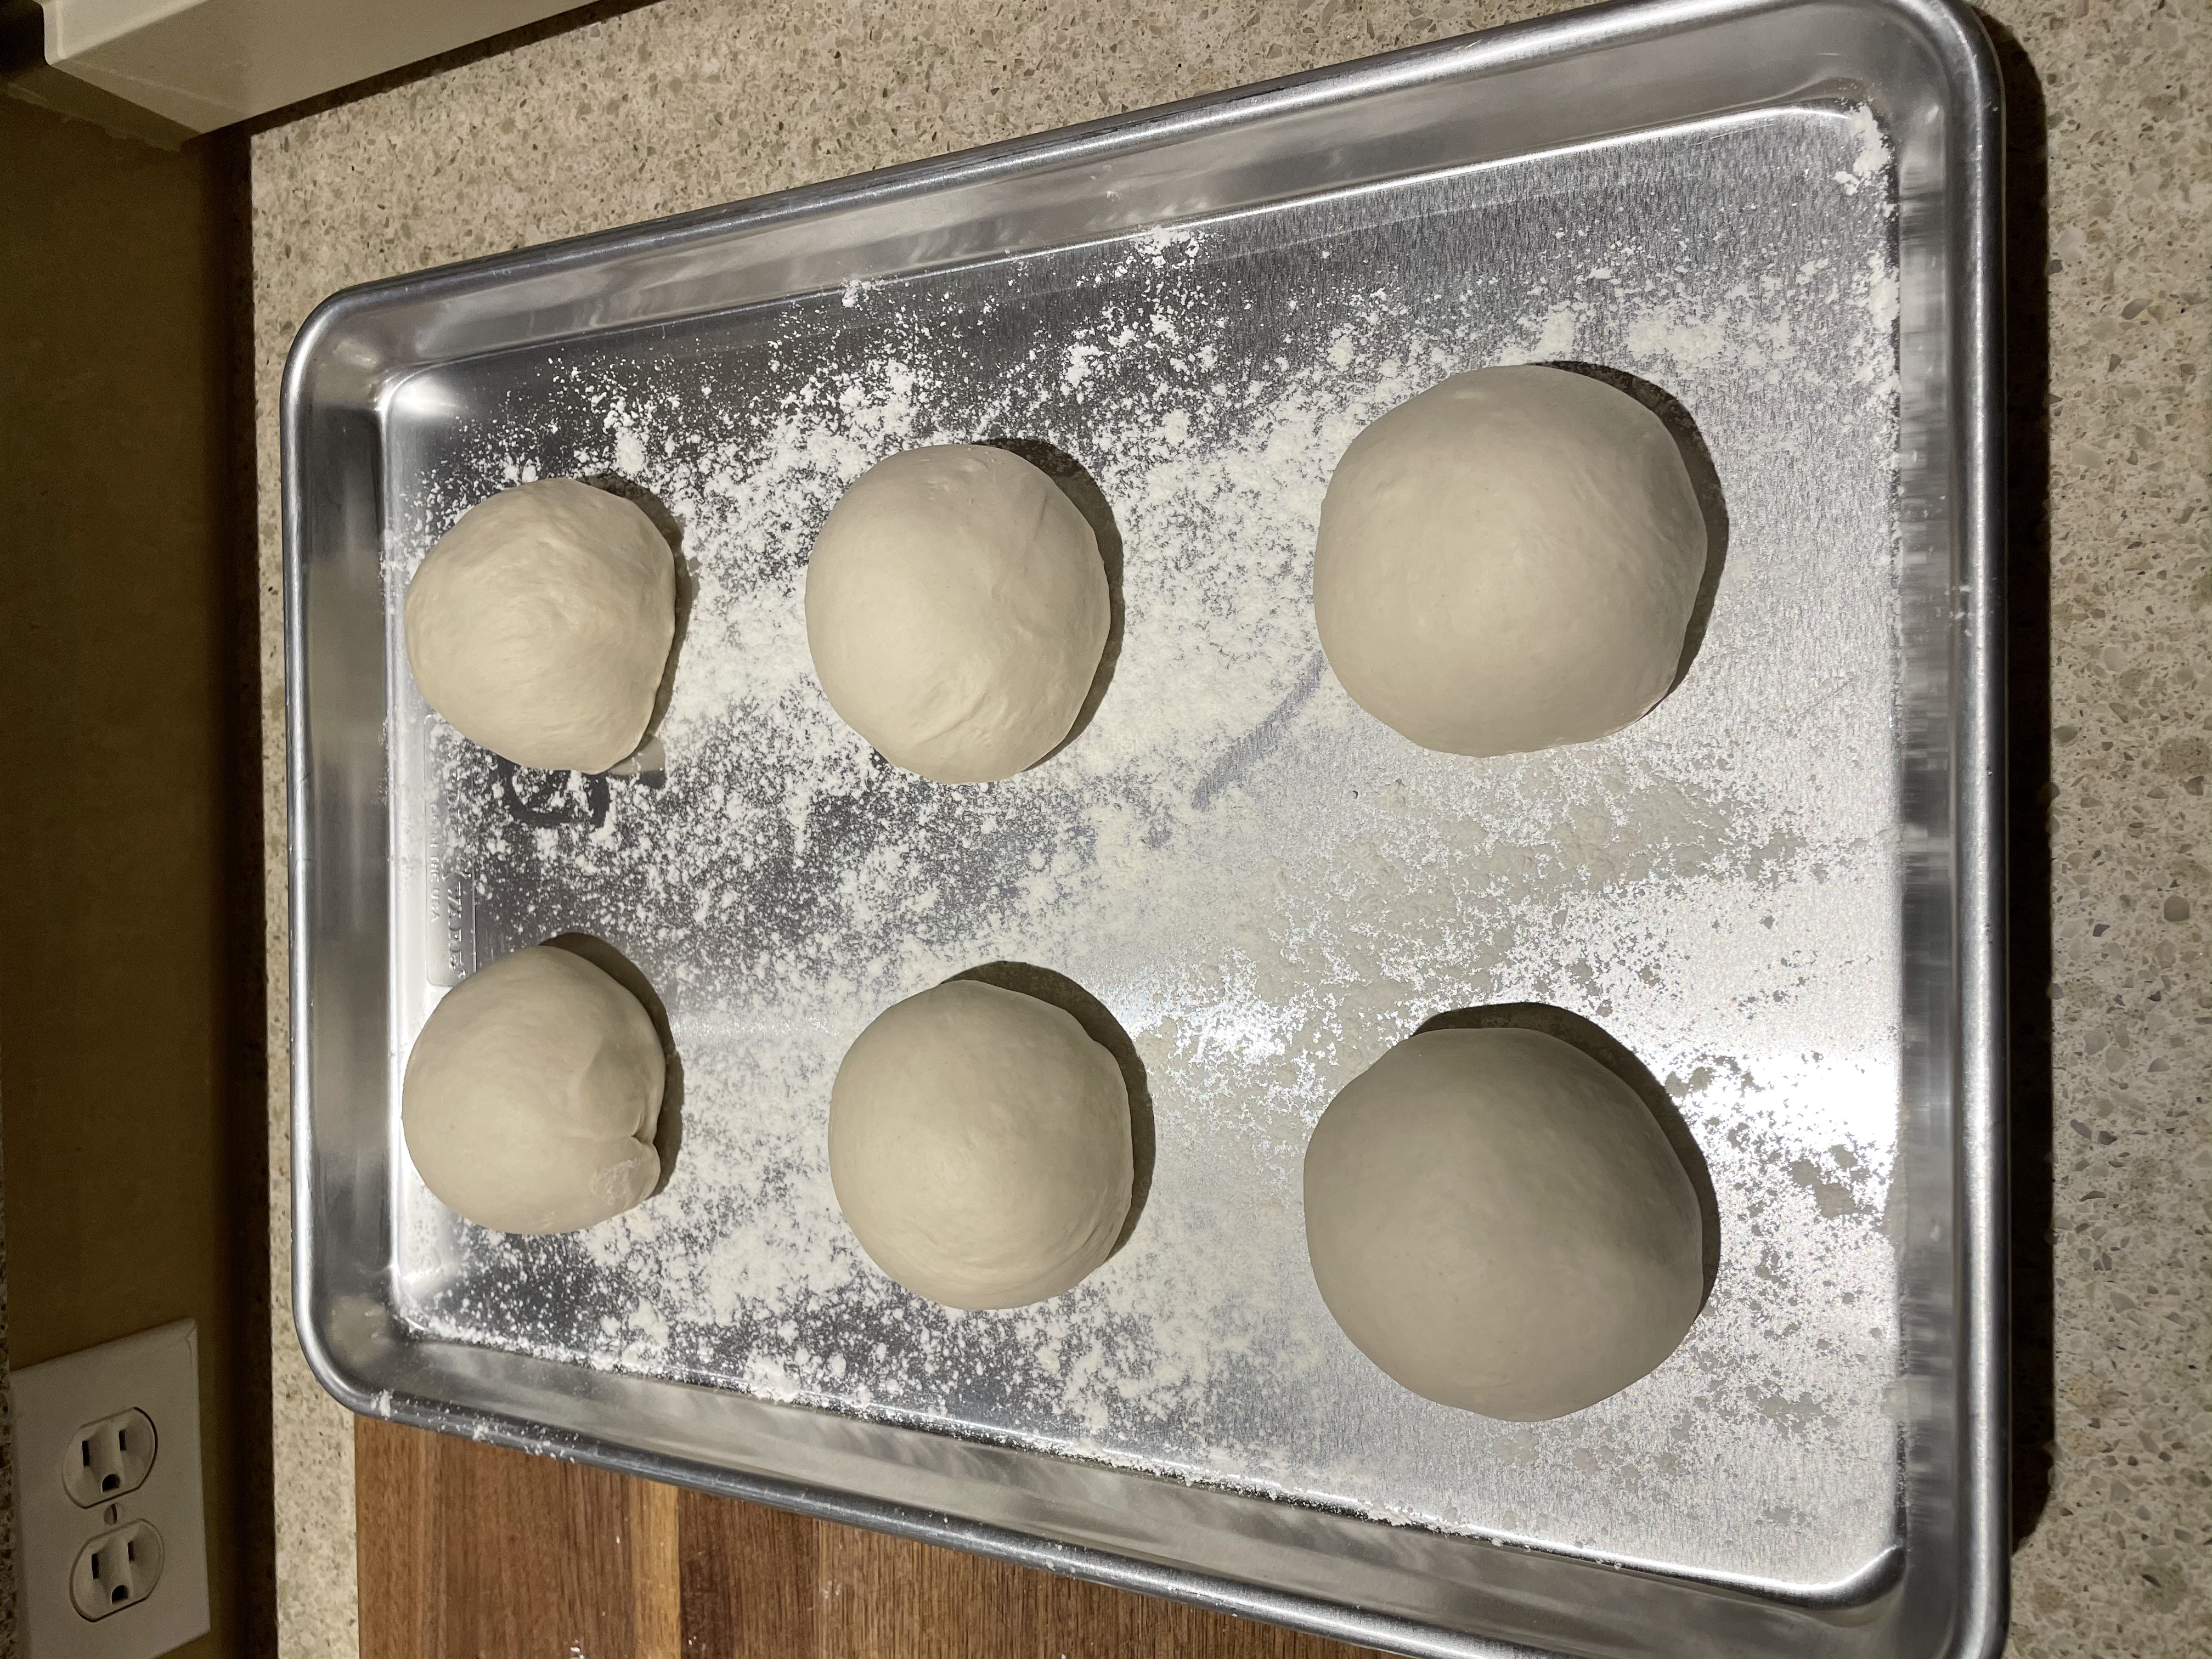
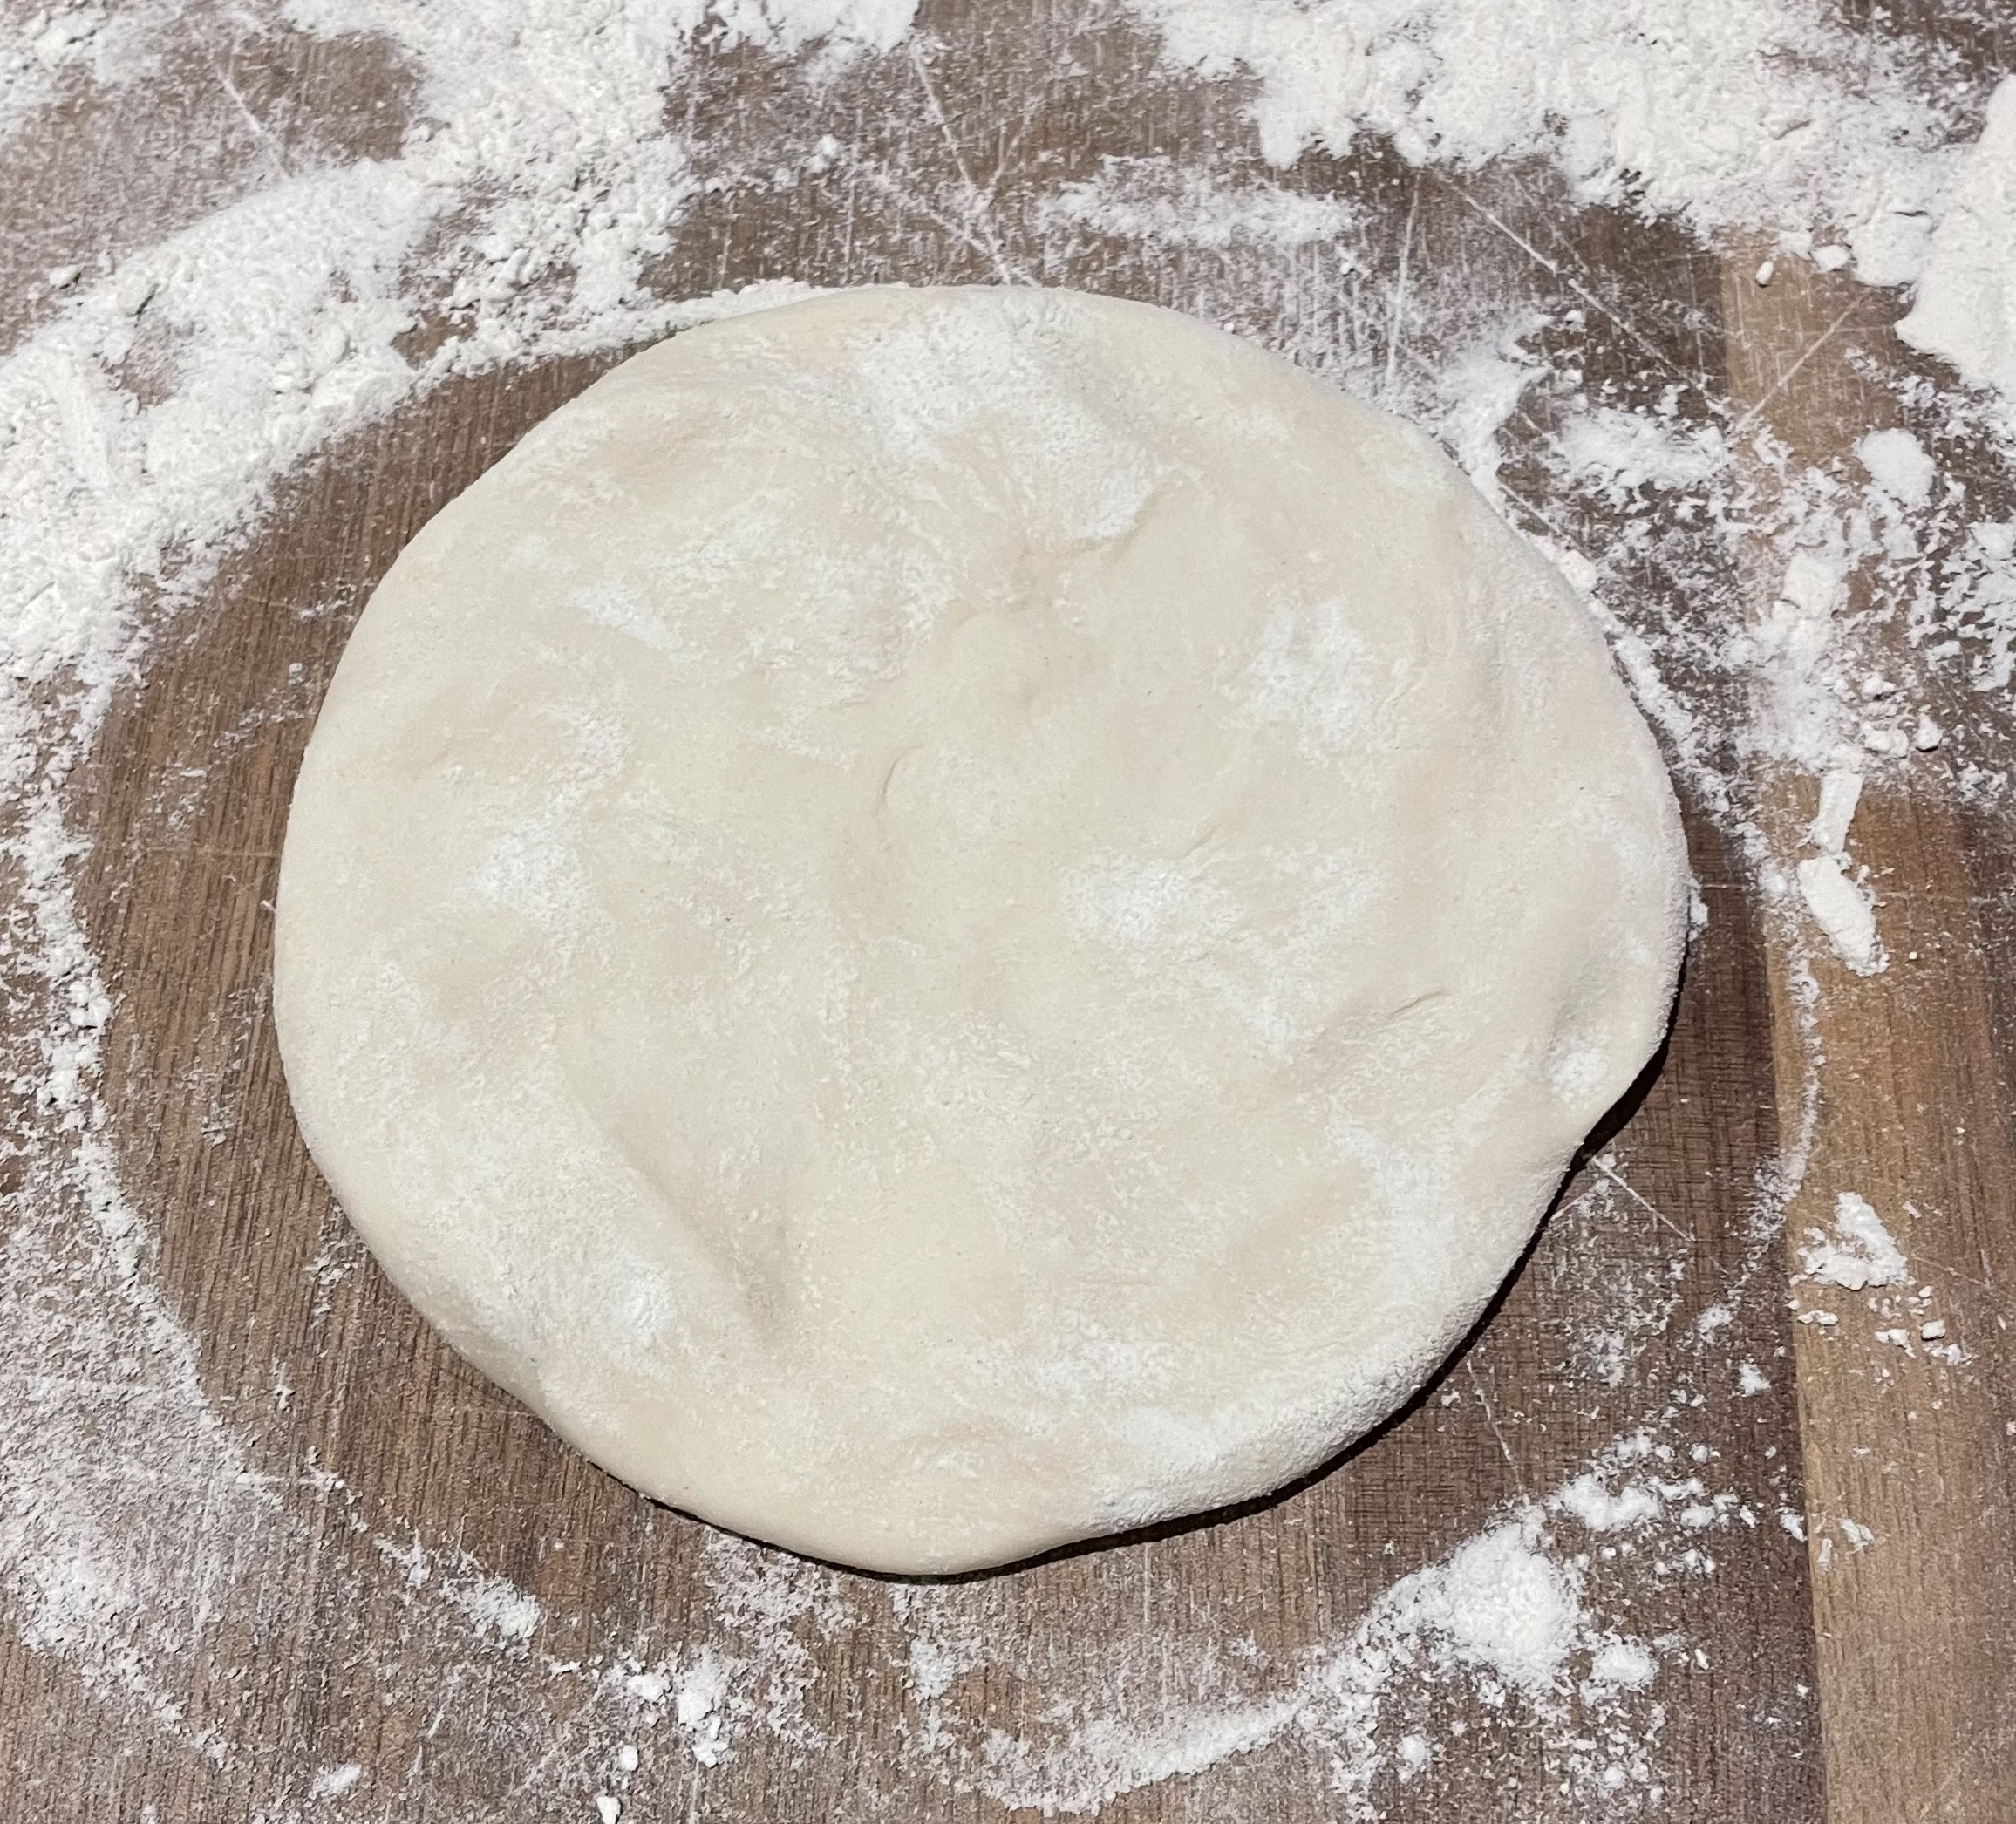
When the dough is done proofing, it’s time to form dough balls. Divide the dough into 200-g balls. I cut it with a bench scraper and verify with a scale. Forming the dough balls means folding the sides back underneath while rotating it around, like this:
-
Put the finished dough balls on a cookie sheet, re-cover with plastic wrap, and let rise for at least another 30-minutes.
-
The video above also has good tips for hand-stretching the dough, but the bottom line is that it just takes practice. A key is having room-temperature dough. Early-on, before I started making dough myself, I bought some from the grocery store, but I didn’t give it enough time to come up to temp, which made it too stiff and rubbery to properly stretch.
Pizza Sauce
- 2 T olive oil
- 2 cloves crushed garlic
- 800 g San Marzano tomatoes (crushed or whole)
- 2 t sugar
- 1 t salt
- 2 t basil
- 1 t oregano
- several twists of fresh-ground pepper
Directions
-
Fry the garlic in the oil over medium heat to release its aroma, but don’t brown.
-
Add the rest of the ingredients.
-
If using whole tomatoes, I use an immersion blender to break them up and mix the ingredients.
-
Simmer on low heat for at least 20-minutes. I also check seasoning.
Pizza Topping and Prep
The pizzas cook quickly, but I find the dough can tend to stick if it’s formed and left to sit too long, so if I don’t have enough help to keep an assembly line going I tend to make them one-by-one. This also gives the oven temperature time to recover between bakes.
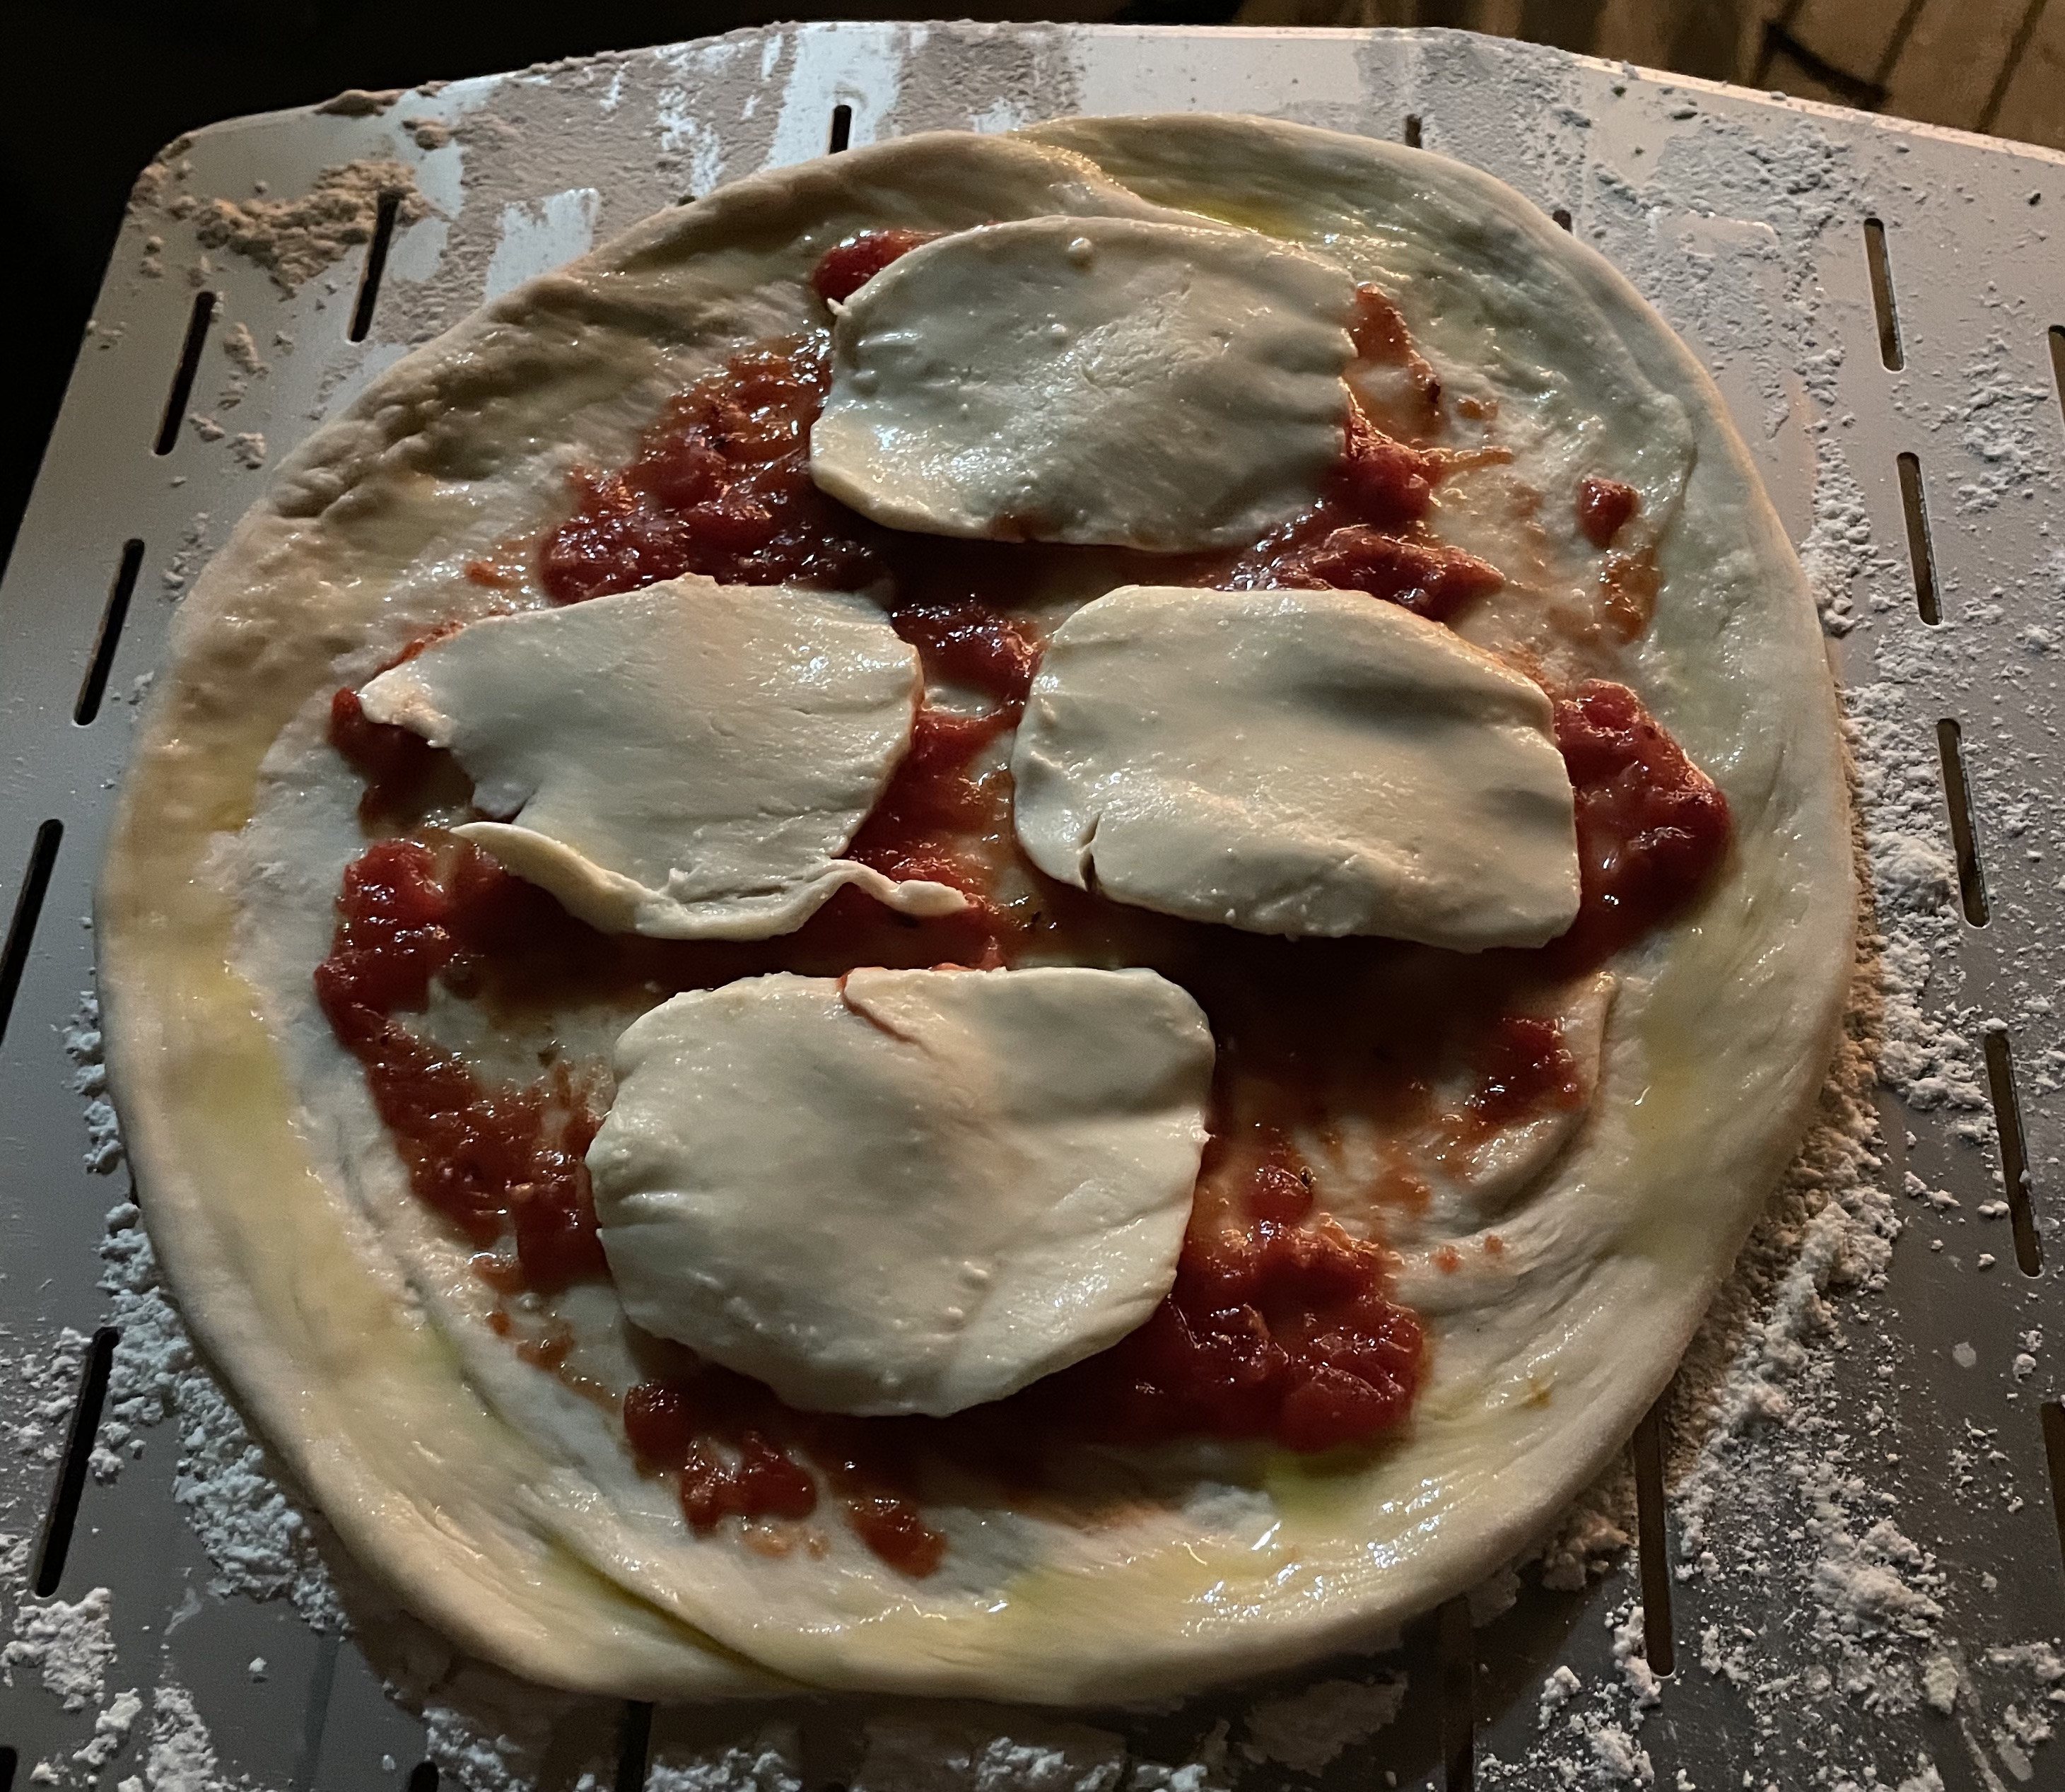
I start with a thin layer of sauce, then cheese, then any toppings. We’ve used everything from sliced buffalo mozzarela to pre-grated “pizza cheese”. It was all pretty good. For toppings we’ve tried pepperoni (natch), sausgage (pre-cook it), procuitto, pineapple, mushrooms (slice thin), olives, and more. It’s pretty hard to mess this step up other than by overloading things. This is a plain cheese, with sliced mozzarela, on a well-dusted peel, with an olive-oil brushed and salted edge.
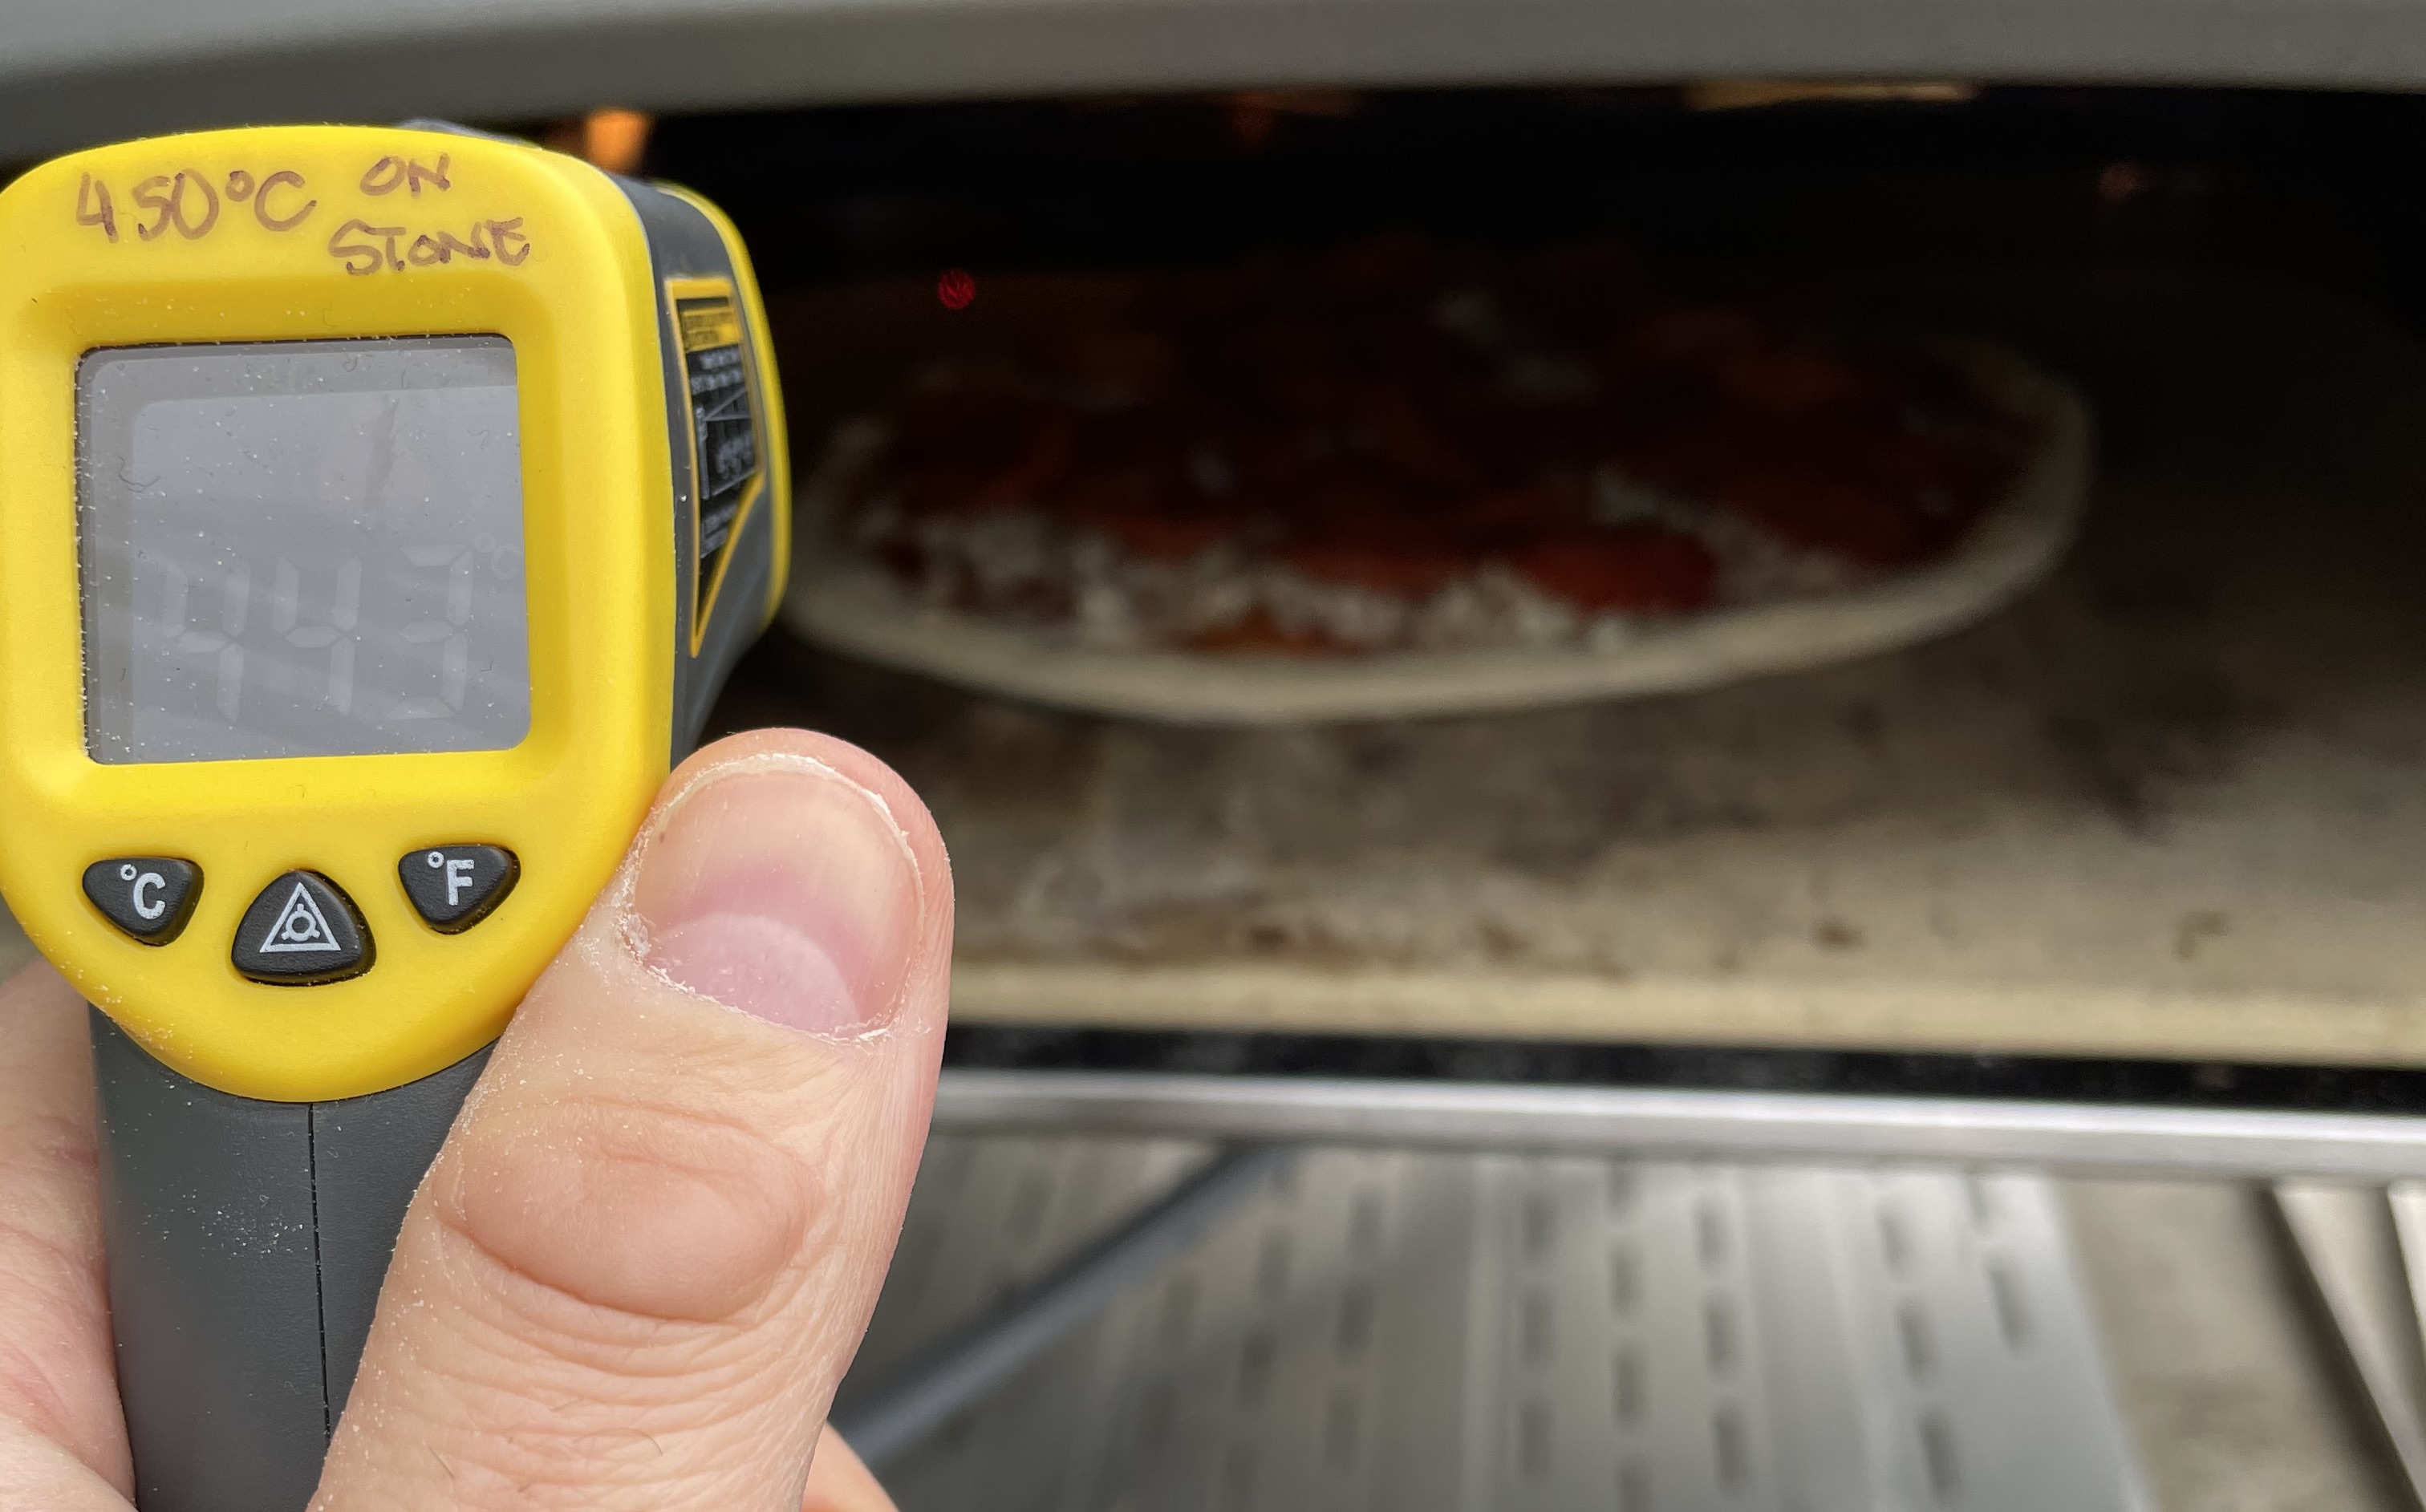
I typically get the oven going just before I start forming the first pizza, to give it at least 10-minutes to warm up. I want the baking stone to be around 450°C (775°F). Then just before I slide the pizza in I turn it down to medium. This keeps the crust and cheese from burning in the radiant heat while the stone cooks and browns the crust from below.
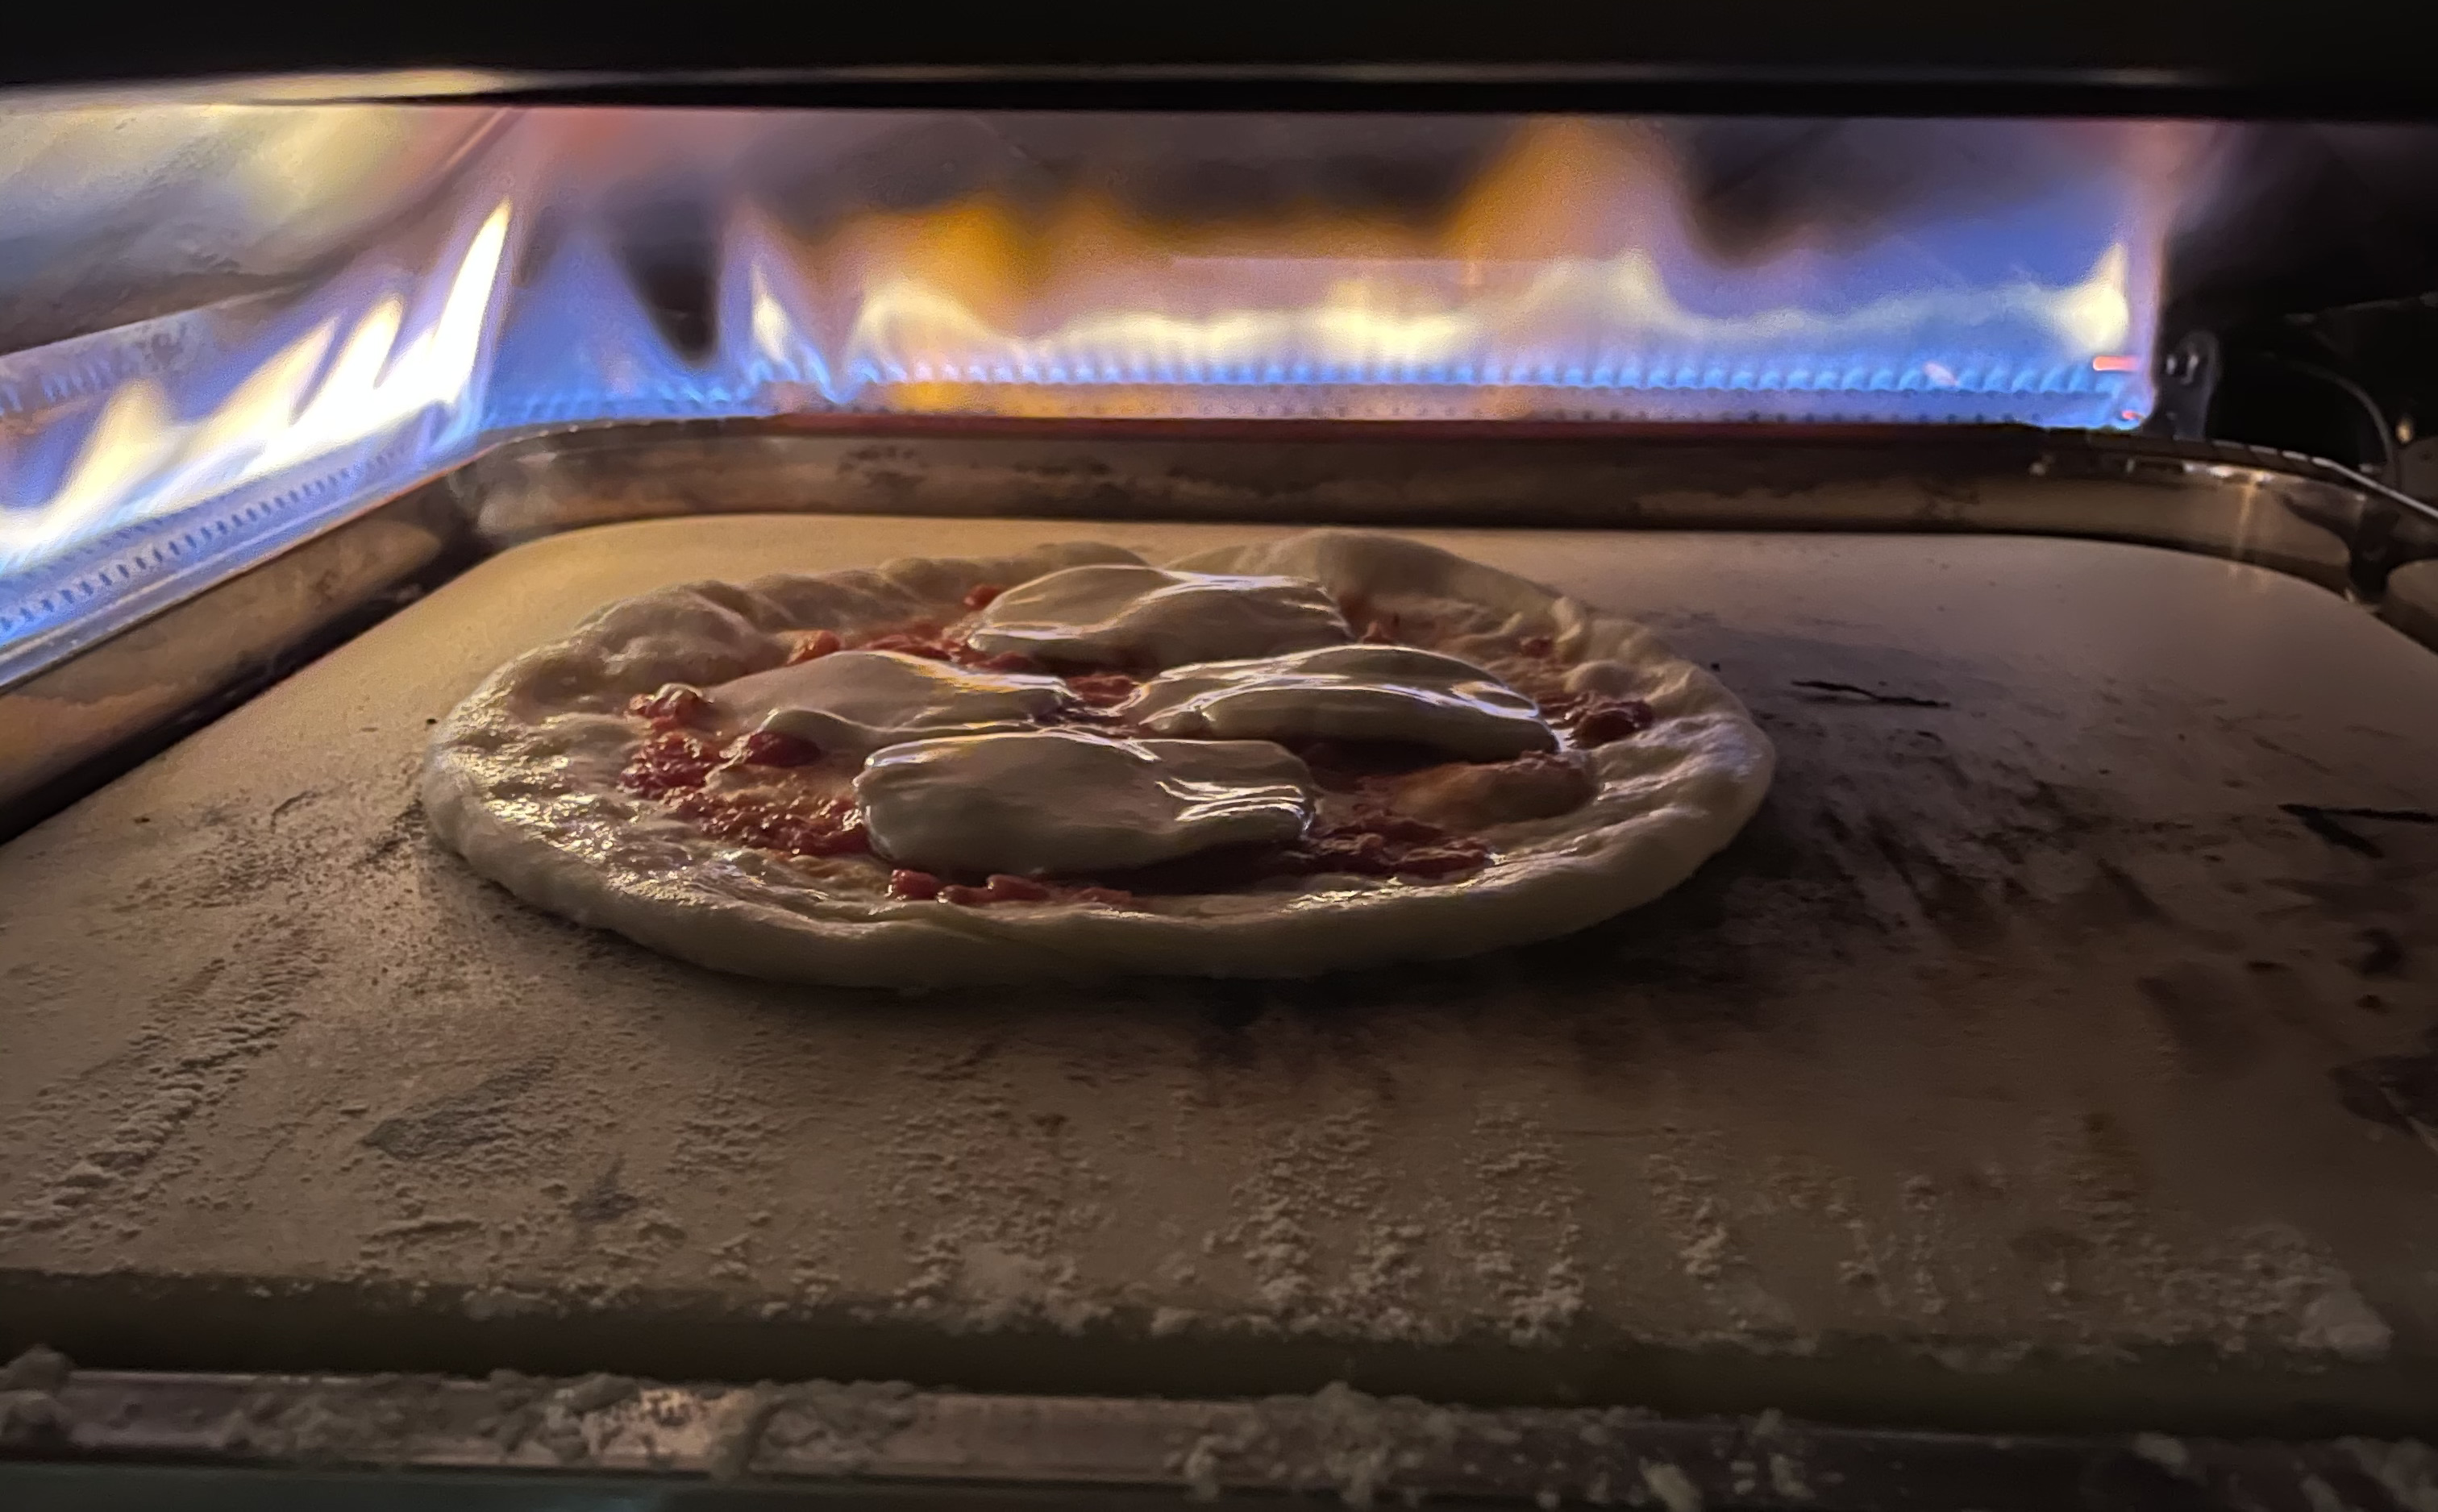
I usually give the pizza 30-40 seconds before I start to rotate it, a quarter-turn at a time, using a pair of long tongs. It’s usually completely done cooking in just under two minutes.
I pull the pizza out and turn the oven back up to high so it can recover while I take the pizza inside to cool and slice and make or fetch another.
Using the peel takes a bit of practice but the keys are using enough flour so nothing sticks and being fluid and confident in the jerking motion that slides the pizza off into the oven or that pushes the peel under a finished pizza.
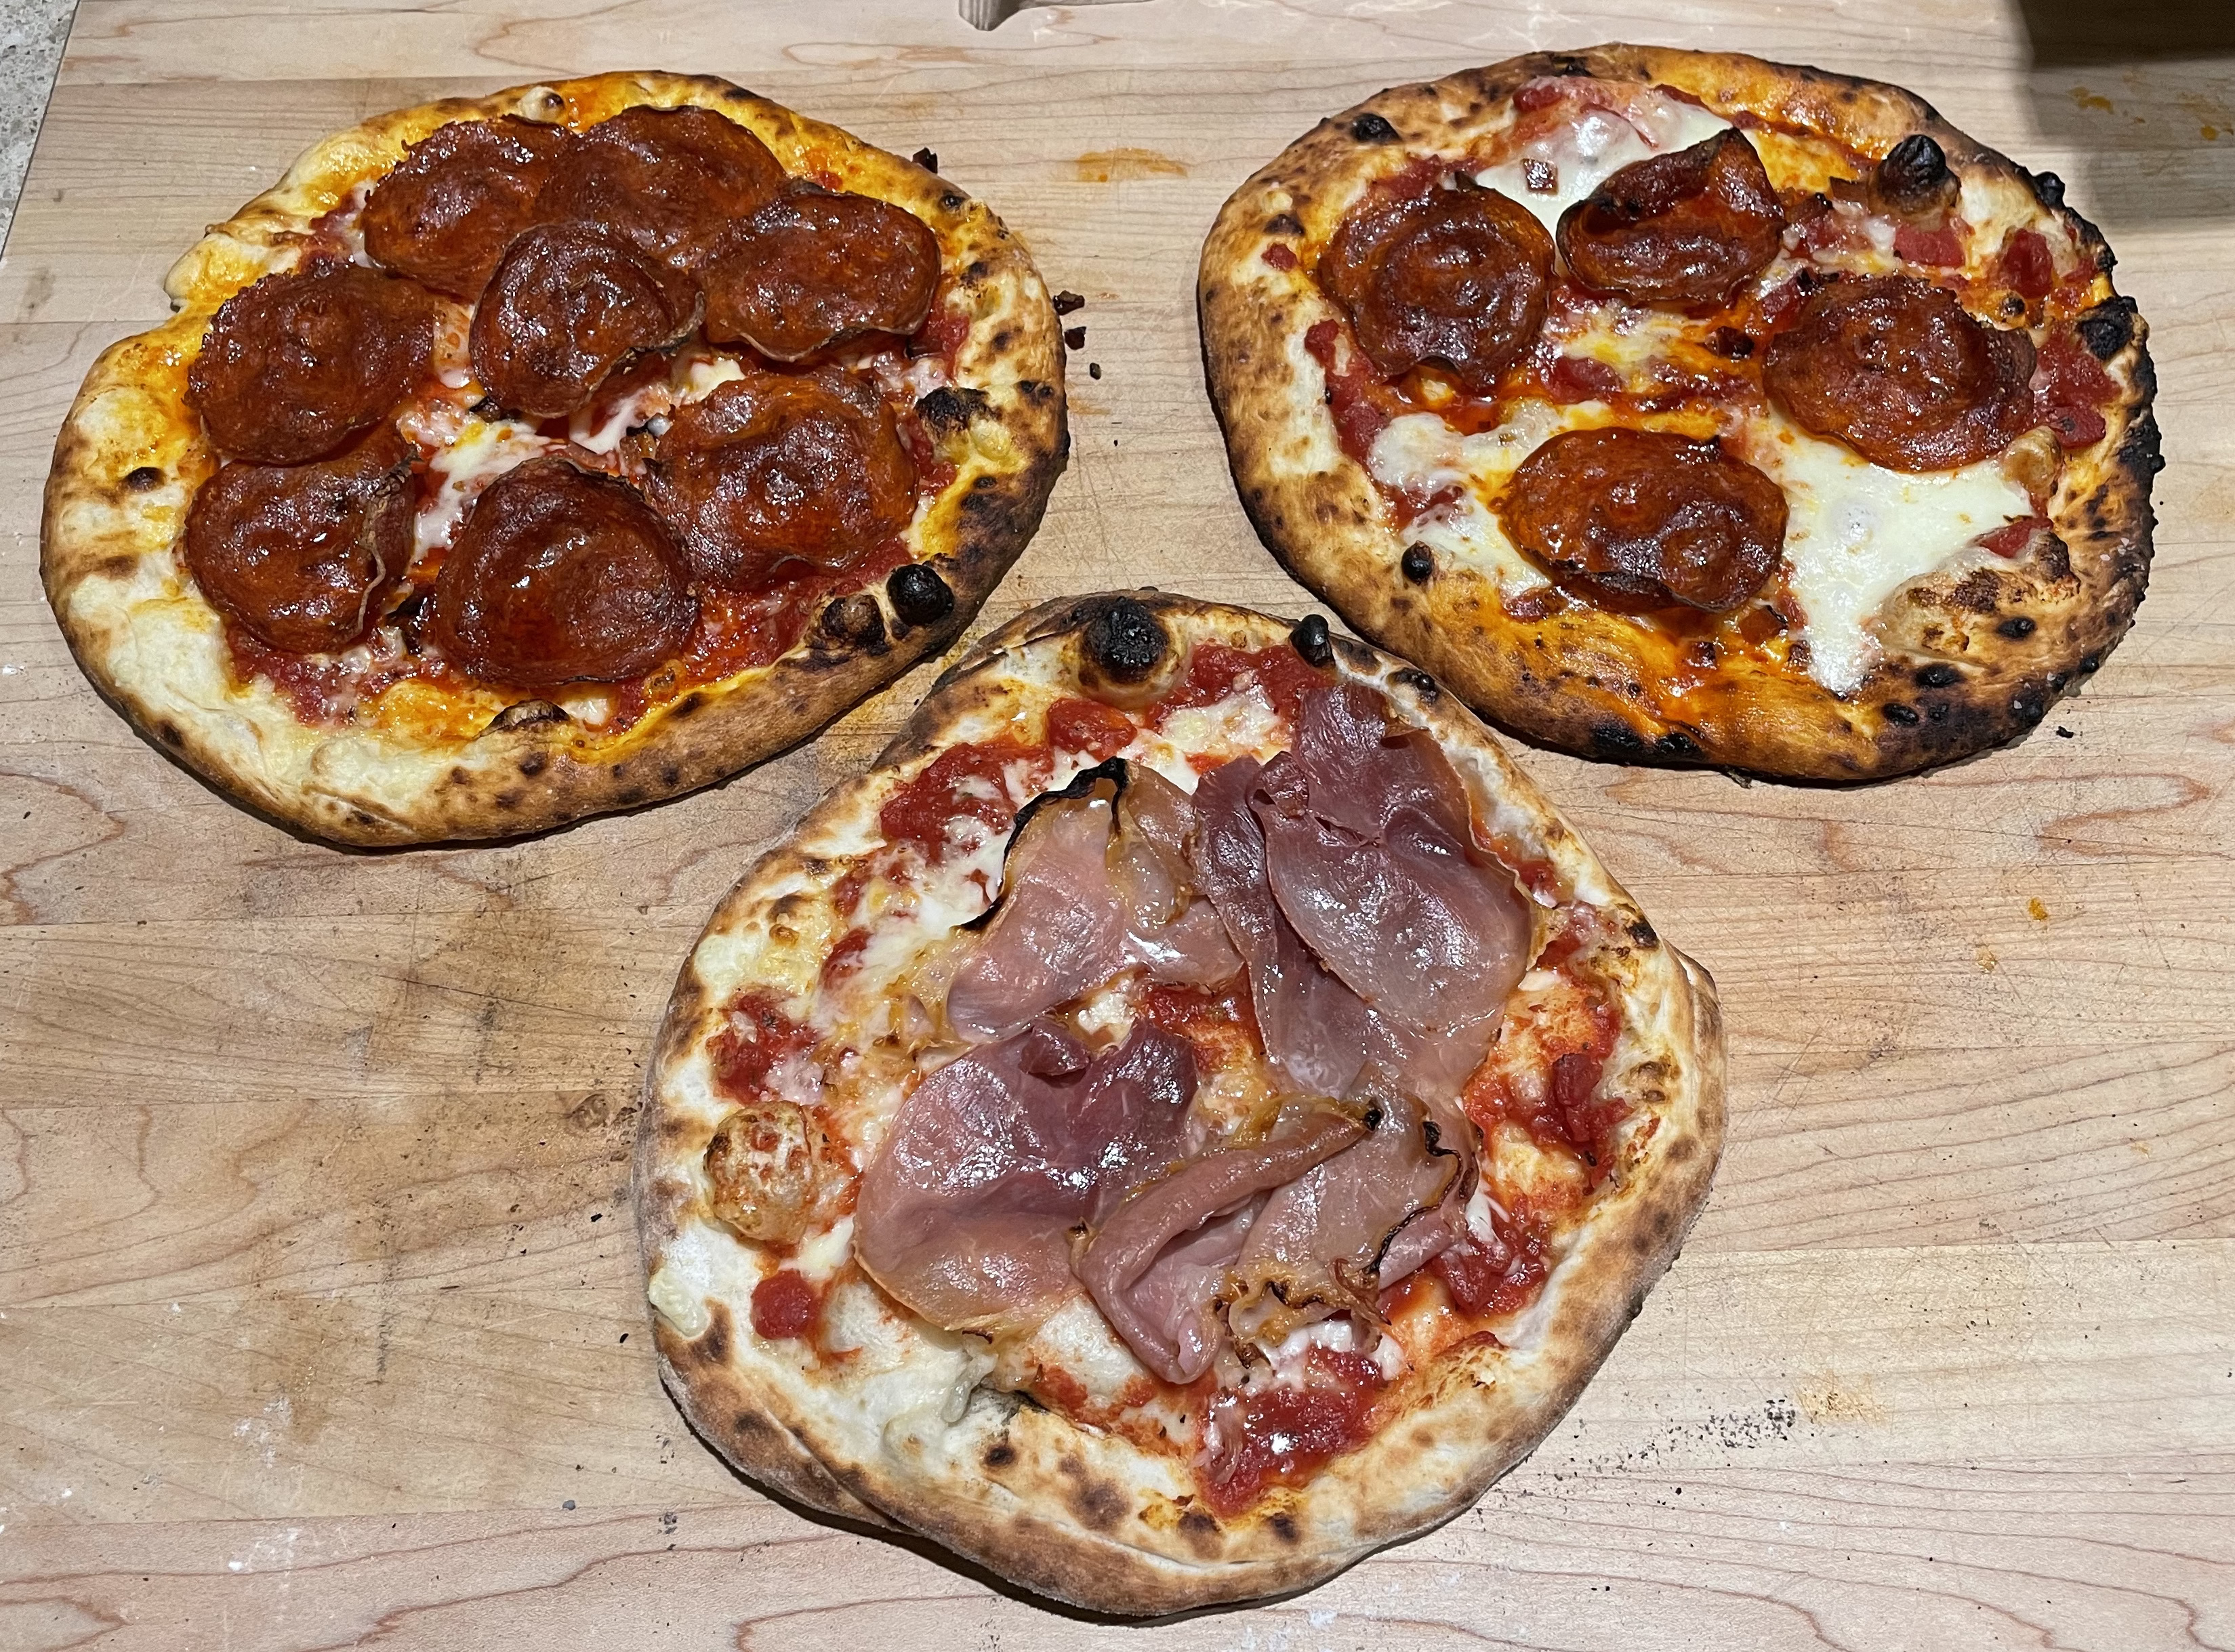
The results are delicious.
-
“00” flour has high protein content, is ground very fine, and isn’t stocked in my local grocery stores—not even Whole Foods. It was available on Amazon, and although it’s imported from Italy and more expensive than normal all-purpose flour, a dough ball still only contains 43¢ of flour. (I have no idea how the modern economy works to make that possible.) “00” flour is important and contributes to the je ne sais quoi of wood-fired-style pizza. The first time I ran out I used bread flour, which the packaging assured me was “good for pizza dough”. This is false; it was doughy and tough. ↩